Hello and Happy Halloween!
I am just a huge sucker for Halloween… Even though I’m a big ol’ chicken when it comes to scary movies and haunted houses, I’ve always loved to play dress up! I have a growing collection of Halloween costumes, and usually dress up multiple times in October. The “weird” and “it’s so ugly it’s cute” things of the world have always inspired me. I love decorating my spaces with skulls and little gremlins, dinosaurs and weird plants, weird bunny masks (much to the dismay of my friends and coworkers), but I digress.
This month I decided that I wanted to get crafty… I’ve been itching to use my hands and actually make something out of my digital realm and hopefully continue the trend at least once a month. For this craft I was inspired by a pumpkin topiary tutorial by Oh You’re Lovely, and decided to put my own monstrous spin on it.. I was super happy with the result and decided to share my materials and process with you for today’s blog post!

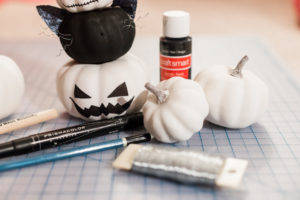
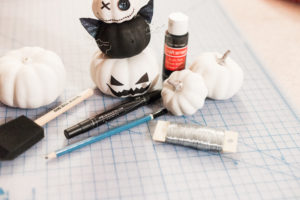
WHAT I USED:
- Styrofoam Pumpkins in various sizes
- Prismacolor Black Fine-tip Marker
- Bamboo kabob skewer
- Black Acrylic Paint and Brush
- Hot Glue
- Buttons, Sewing Pins, Silver Wire and Faux Leaves (for monster faces)
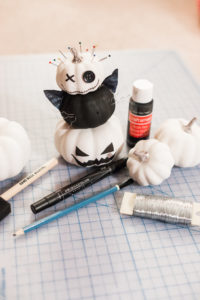
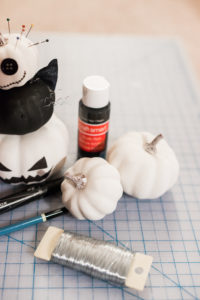
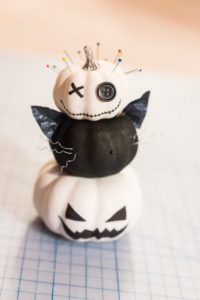
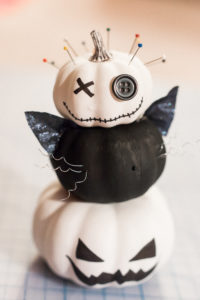
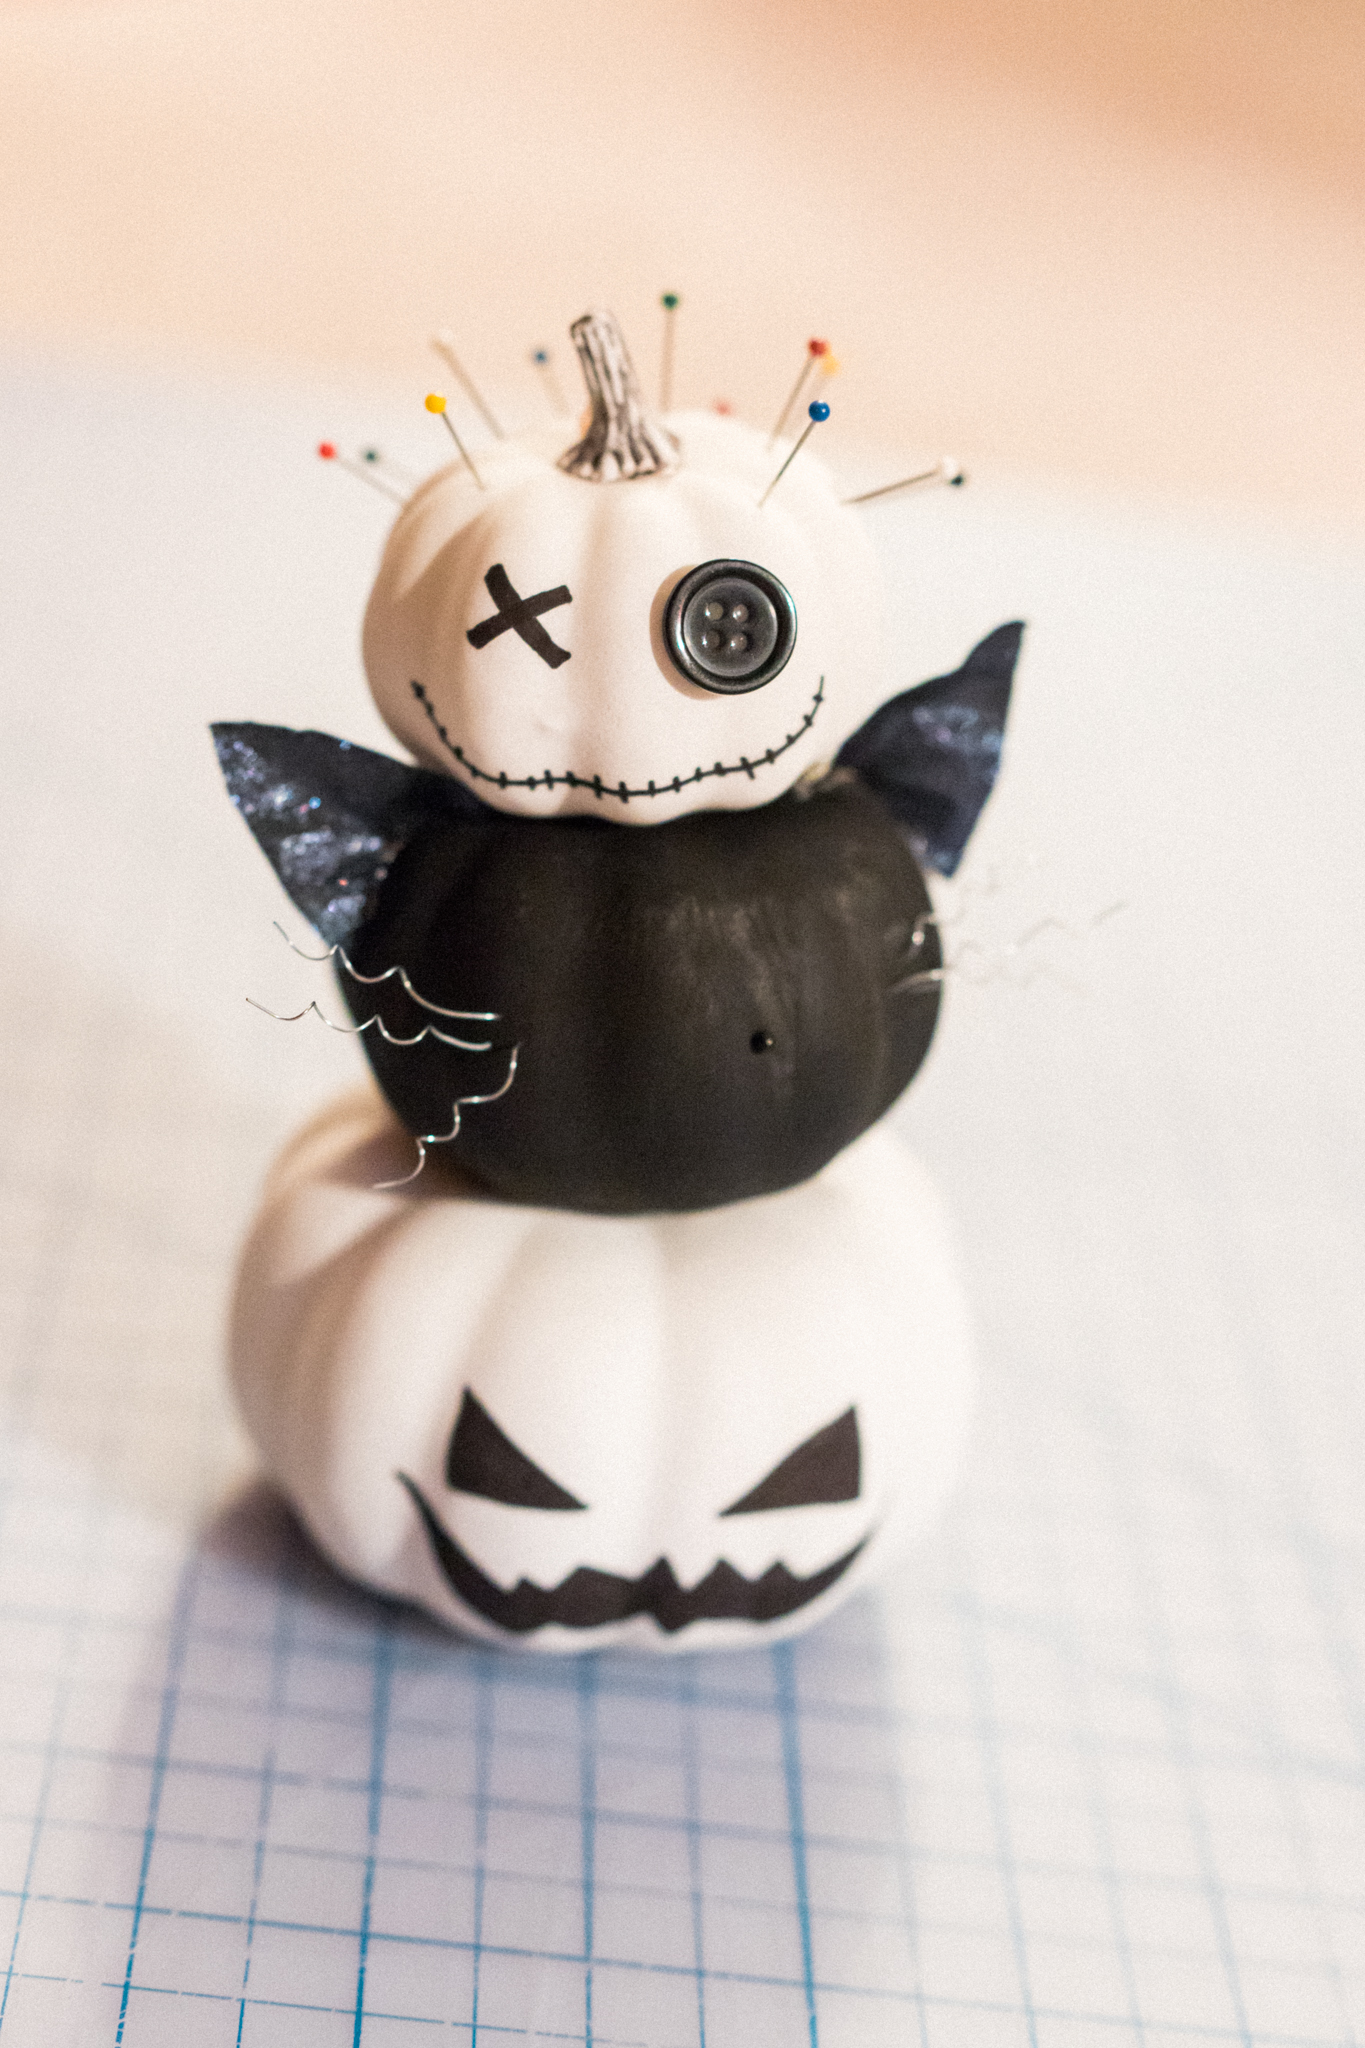
I started with white mini styrofoam pumpkins in 3 different sizes (ordered from amazon, but you can find these types of pumpkins everywhere is September/Early-October). I removed the stems from the two larger sizes and decided what type of decorations each was going to have. I decided on the Voodoo doll, cat and Jack-o-lantern, but the possibilities are endless! I’d love to try a mummy and zombie next time.
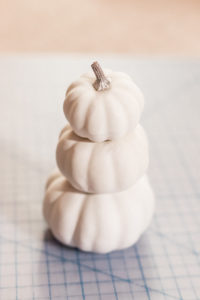

With the pointed end of the skewer, poke a hole through the bottom of the middle and small sized pumpkins. Make sure the skewer pushes all the way through the middle pumpkin, coming out the hole left by the now removed stems. Trim down your skewer so that it will go through all three pumpkins, without poking through the top or bottom of your topiary
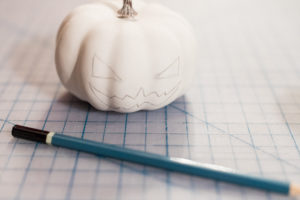
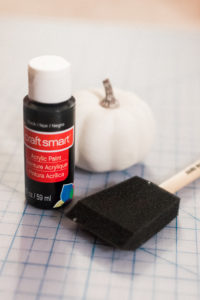
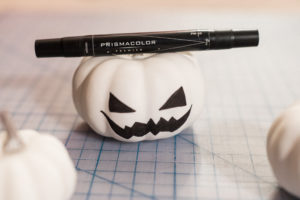
I sketched in the face of the bottom pumpkin and filled in with black marker, painted the middle size pumpkin all black and set aside to dry and created the voodoo doll face with marker and hot glued on his button eye. I finished off the voodoo pumpkin with sewing pins. They poke in easily, just be intentional in your placement so that the hole doesn’t become too wide and loose grip on your pin. No one wants loose sewing pins hiding on their floor!


For the cat pumpkin, I cut 6 pieces of wire (approx. 2in each). I wrapped each bit of wire around a toothpick to achieve the spiral effect. I used a sewing pin to poke holes where I wanted the whiskers, then carefully finagled the wire spirals into the holes. This part took a little patience. I made his ears by cutting the tips off of faux greenery leaves that I had in black/glitter. The wire in the leaves helped create a natural curve shape for the ears. I attached the ears with hot glue after constructing the topiary just to make sure that they didn’t overlap with the top pumpkin.
Once the pumpkins are decorated (except for the cat ears), carefully skewer them together. It should be easy since we’ve already created the holes for the skewer to go through! For extra security, you can add hot glue in between the pumpkins to bind them together, but I personally like being able to rotate them around, and eventually interchange the monsters out for new creations.




Read the Comments +